
Გამომცხოვრებული მასტერობა დამახატველი მანქანის საღებავის აღდგენაში
Მანქანის საღებავის შეხება და შეკეთება ზუსტი გამოთვლა, მოლოდინი და სწორი ტექნიკა საჭიროა პროფესიონალურად გამოსაყურებლად შედეგების მისაღებად თქვენი დახმარებით. თუ უმნიშვნელო ხაზები და ნაჭრები დაუშვებელია დაუშვებელია, შეიძლება დაზიანოს თქვენი მანქანის გარეგნული და დაცვა, რაც მნიშვნელოვანია მანქანის ღირებულების შესანარჩუნებლად. Მთავარი მასტერობის საშუალებით შესაძლოა მიღებულ იქნას საუკეთესო შედეგი შეკეთების დროს, თუ გააზრებული იქნება საღებავი სისტემის საფუძვლები, ზედაპირის მომზადების მეთოდები და შერევის ტექნიკა. ახალი თაობის საავტომობილო საღებავის პროდუქტებით შესაძლოა ხელით შეკეთება უფრო მარტივად განხორციელდეს, სპეციალური საღებავი პენებით, აეროზოლის სისტემებით და საღებავის ამოღების ამონახსნებით, რომლებიც შექმნილია სხვადასხვა ტიპის დაზიანებების შესაკეთებლად. მთავარია ზუსტად მომზადებული ზედაპირი, სიბრტყეში შესაბამისი ფერის მოძებნა და სწორად დამუშავებული სამრავლო ფენების გათვალისწინება. დაუშვით მცირე დაზიანებები, მაგალითად ქვის დარტყმით გამოწვეული ხაზები, საპარკინგო ადგილების მოჭრებები ან დაჟანგული ზედაპირი, ამ პროფესიული მეთოდების საშუალებით შესაძლოა აღდგენილ იქნას თქვენი ავტომობილის საღებავის ფენა თითქმის საწყის მდგომარეობაში დახმარების გარეშე სასარგებლო სამუშაოების მაღაზიებისა.
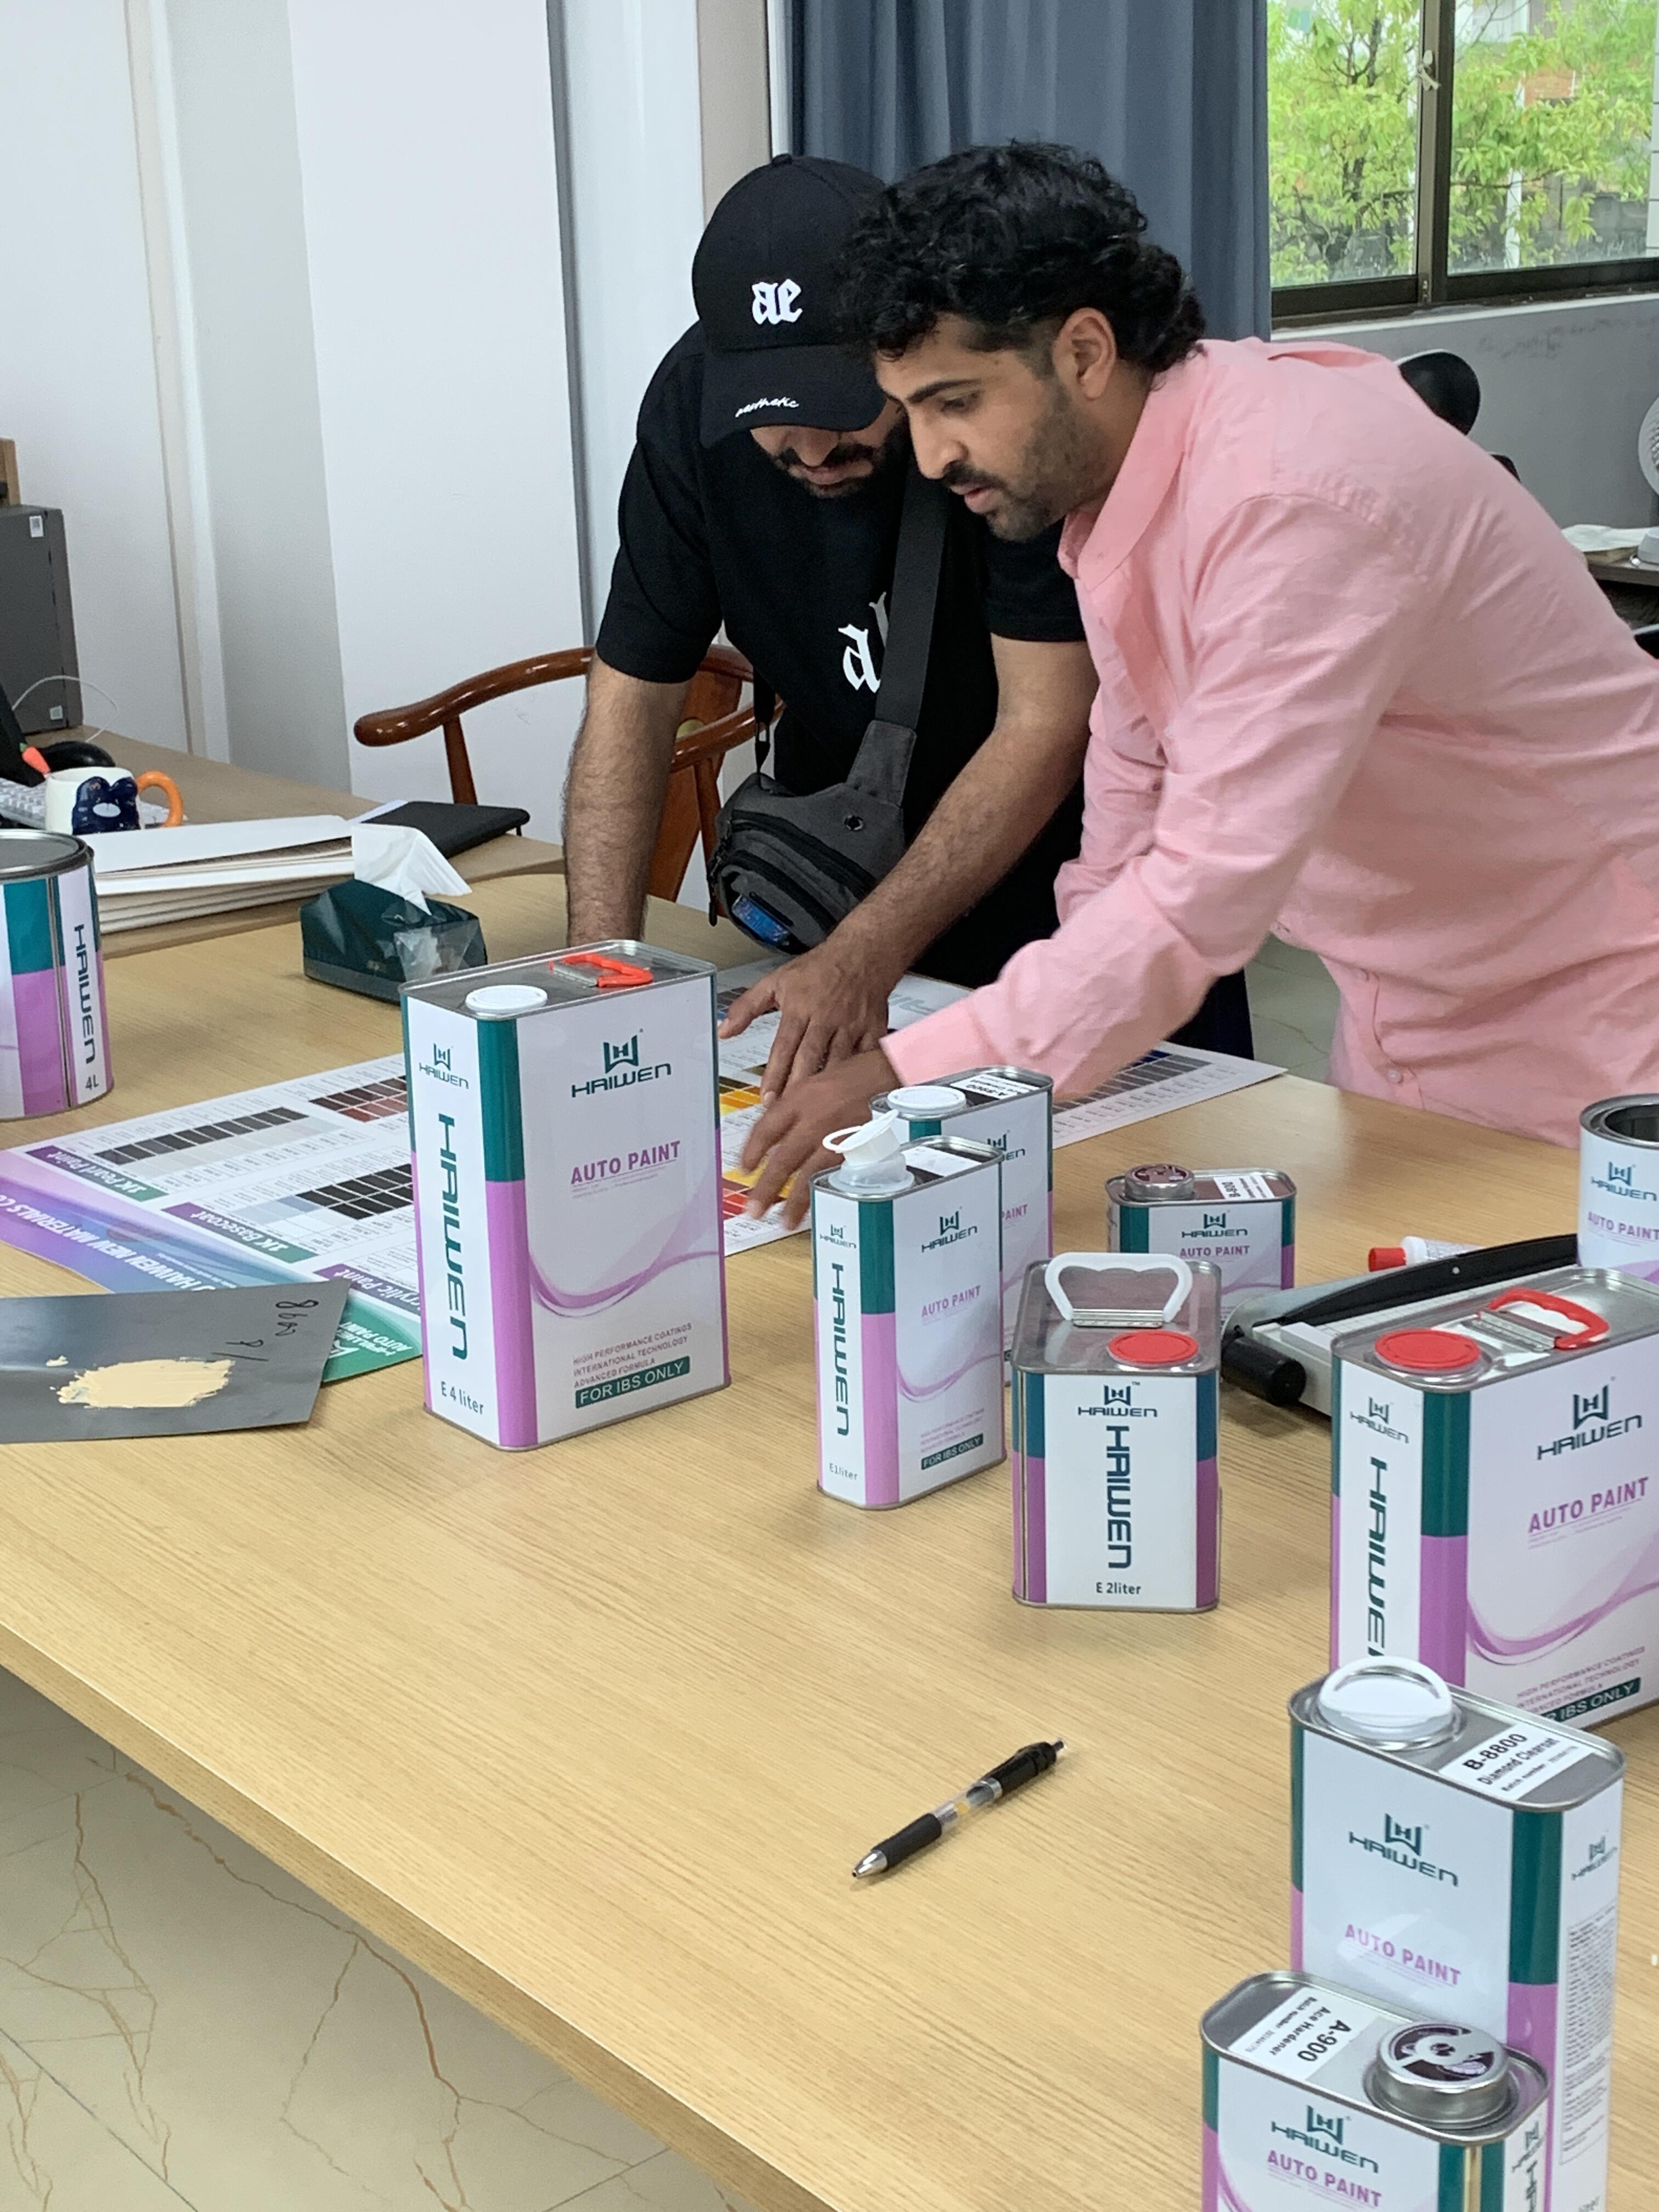
Სრულყოფილი ფერის შესაბამისობის სტრატეგიები
Ქარხნული საღებავის კოდების მოძებნა და გამოყენება
Პროფესიონალური ხარისხის მანქანის საღებავის რემონტის დაწყება ხდება ზუსტი საწარმოს ფერის კოდის იდენტიფიცირებით, რომელიც საიდუმლოდ მითითებულია მანქანის იდენტიფიკაციის დაფაზე ან კარის ბზარში მიბმულ სტიკერზე. ავტომობილის მწარმოებლები მოწოდებენ მანქანის საღებავს, რომელიც ზუსტად ემთხვევა ამ კოდებს, რომელიც ხელმისაწვდომია დილერის ნაწილების დეპარტამენტების ან სპეციალიზებული მიმწოდებლების მეშვეობით. ძველი ავტომობილებისთვის საწყისი საღებავის ფერი შესაძლოა გამუდმებული იყოს, რაც მოითხოვს საწარმოს ფორმულის მცირე გადახედვას უხილავი რემონტისთვის. სმარტფონის ფერის შესატყვის აპლიკაციებმა შეიძლება მოგცეთ დახმარება დაწყებისთვის, მაგრამ არ უნდა შეცვალოს ფიზიკური საღებავის ნამცხვრების შედარება ბუნებრივ სინათლეში. როდესაც შეუკვეთავთ საღებავს, აირჩიეთ ყველაზე პატარა კონტეინერი, რომელიც აკმაყოფილებს თქვენს საჭიროებებს, ვინაიდან დარჩენილი საღებავის შენახვის ვადა შეზღუდულია. ხარისხიანი საღებავის მიმწოდებლები ხშირად შეძლებენ მოამარაგონ ფერი რამდენიმე ფორმით - საღებავის სახით პატარა ნამცხვრებისთვის, ბოთლები სახავის დასალევად ან აეროზოლი უფრო დიდი ადგილებისთვის - ყველა ერთი და იგივე საწარმოს კოდს ემთხვევა.
Ფერის გადახედვა ძველი სანათლოებისთვის
Მზის გამოხატული მასალის მქონე ავტომობილების შესაკვეთად საჭიროა საწარმო ფორმულის გადამუშაობა და ინდივიდუალური ფერის გამოყენება უხეში შეკეთების მიზნით. პროფესიონალი აღდგენით მცირე რაოდენობით შემაბლაგვებელ ფერებს უმატებენ საწყის ფორმულას, უხილავ ადგილებში ასამართლებენ სიზუსტეს სრულყოფილი შესაბამისობის მისაღებად. ამ პროცესისთვის საუკეთესოა სპეციალური საწვეთი ჭიქების, ზუსტი წვეთმდელების და საწურავი ჩაის საშუალებით მუშაობა, რათა ფერის კონტროლი მუდმივად შენარჩუნდეს. მეტალიკისა და მარგალიტის სახეების შემთხვევაში განსაკუთრებით უნდა მიეკუთვნოთ ფირფიტების ზომასა და განაწილებას, ხოლო საღებავის ბოთლის კარგად დახავილი უზრუნველყოფს მეტალის ნაწილაკების სწორ განაწილებას. თქვენი ინდივიდუალური ნარევის გამოსაცდელად უმჯობესია ირიბი მზის სინათლე გამოიყენოთ, ვინაიდან პირდაპირი სინათლე შეიძლება ფერის აღქმა დაარღვიოს. ბევრი პროფესიონალი ავტომობილის საღებავის სპეციალისტი გვთავაზობს იმ ფერის მომზადებას, რომელიც უფრო მუქია გამოხატულ ზედაპირზე, ვინაიდან ახალი საღებავი თავდაპირველად განათლდება სრული გამყარების პროცესამდე. თქვენი ინდივიდუალური საღებავის ფორმულის დეტალური ჩანიშვნების შენახვა საშუალებას გაძლევთ მუდმივად გამოიყენოთ ერთი და იგივე ფერი რამდენიმე შეკეთების განმავლობაში.

Ზედაპირის მზადების ტექნიკები
Სწორი გასუფთავება და დეგრეზირება
Უნაკლო სატრანსპორტო საშუალების საღებავის შეკეთება მოითხოვს ნაბიჯობრივ წმინდა ზედაპირებს მოცივის, სილიკონის და გზის დაბინძურებისგან. დაიწყეთ ხელით დაბანა საავტომობილო საბნით, შემდეგ კი გამოიყენეთ კაოლინის ღონის მკურნალობა ჩასმული ზედაპირის მტვრის ასამოკლებლად. იზოპროპილის სპირტი (70% კონცენტრაცია) კარგად მუშაობს ბოლო დეგრეიზინგისთვის ნაკლები ნარჩენების გარეშე, რამაც შეიძლება დააზიანოს სატრანსპორტო საშუალების საღებავის მიმაგრება. არ გამოიყენოთ საყოფაცხოვრებო საწმენდი საშუალებები, რომლებშიც შეიძლება შედიოდეს სახსნელები ან სატბილე საშუალებები, რომლებიც არ არის თავსებადი საავტომობილო სანათლოებთან. ღრმა ხაზებისთვის, რომლებიც აღწევს ახალ ლოყამდე, გამოიყენეთ მოცივის და ზეთის მომხსნელი, რომელიც სპეციალურად მომზადებულია სატრანსპორტო საშუალების საღებავის მოსამზადებლად. სუფთავების პროცესი უნდა გავრცელდეს რამდენიმე ინჩით სარემონტო ადგილის გარშემო, რათა დარწმუნდეთ, რომ გამოყენების დროს არ გადავიდეს დაბინძურება. ზედაპირის სრული გაშრობის დაცემა საჭიროა გასაგრძელებლად - ტენის დატოვება ახალი სატრანსპორტო საშუალების საღებავის ქვეშ გამოიწვევს მიმაგრების მავნებლობას და ადრეულ შეკრეფას. ეს ზუსტი სუფთავის პროცედურა ქმნის საფუძველს მდგრადი, პროფესიონალურად გამომყვანი შეკეთებისთვის, რომელიც იმდენად გრძელდება, რამდენადაც ქარხნული სანათლო.
Ზუსტი სახსნელი და გადასვლის კიდეების დამუშავება
Პროფესიონალური ავტომობილის საღებავის შეკეთება დამოკიდებულია სახსნელის კონტროლირებულ პროცესზე, რათა ძველი და ახალი საფარის შორის გლუვი გადასვლის ზონები შეიქმნას. გამოიყენეთ 2000-3000 აბრაზიული სახსნელი ქაღალდის სითხე საპნიანი წყლის გამოყენებით, რათა ნაზად დაამუშაოთ ამოტვირთული ნაწილების და ხაზების კიდეები. ეს ავტომობილის საღებავის შეკეთების ტექნიკა ამოაშორებს გაუმართლებელ მასალას და ქმნის მიკროსკოპულ ხრეშს უკეთესი მიწებვისთვის გარშემომყოფი გამჭვირვალე საფარის დაზიანების გარეშე. უფრო დიდი ზონებისთვის, ინტერფეის პადით დამაგრებული ორმაგი მოქმედების სახსნელი აცილებს საღებავის ზედმეტ სახსნელს თავდაპირველი ავტომობილის საღებავის ფენებში. ყოველთვის შეხსენით სწორ ხაზებში, არა წრეებში, რათა შეინარჩუნოთ ქარხნული საფარის ტექსტურა და თავიდან აიცილოთ შეკეთების საზღვრების ხილვა. სახსნელის შემდეგ, ყურადღებით მოაშორეთ მტვერი დამაგრებული ქსოვილით, შემდეგ კი სპირტის საშებით მოაშორეთ სახსნელის ნარჩენები. მიზანია შეიქმნას უხილავი დახრილობა, სადაც ახალი ავტომობილის საღებავი უმართლებლივ შერწყმული იქნება არსებულ საფართან, უგულებელყოთ ნაკადები და მკვეთრი კიდეები, რომლებიც სხვაგვარად იჭერს სინათლეს.
Სხვადასხვა ტიპის ზიანისთვის გამოყენების მეთოდები
Ქვის ნატეხების მიკრო შეკეთება
Მცირე ნატეხების შეკეთებისას საჭიროა სპეციალური მასალების გამოყენება მასალის ხილული "წვეტების" თავიდან ასაცილებლად. მასალის ზუსტად დასამაგრებლად გამოიყენეთ კბილის გამწმენდი ან თანაბარზომიერი ნემსი, რადგან უმეტესი შეკეთების ნაკერების ჩამონტაჟებული ფარდა არ არის საჭირო. მასალა დაალაგეთ თხელ ფენებში, თითოეული ფენის გაშრობას მიეცით დრო სრული გაშრობისთვის, სტანდარტულად 24 საათი ინტერვალი საჭიროა ხსნელის სრული აორთქლებისთვის. შეკეთების ზედაპირის მცირედ ამაღლება შესაძლებლობას იძლევა სრული გამყარების შემდეგ დასრულების დროს ზედაპირის გასწორებისთვის. ახალგაზრდა შეკეთების სისტემები შეიცავს გამხსნელებს, რომლებიც ახდენენ ზედმეტი მასალის გახსნას უფრო ბრტყელი ზედაპირის მისაღებად. მეტალიკის შემთხვევაში, ნაზად დაიფრქვიეთ სული სველ მასალაზე ფირფიტების მოსაწყობად საწარმო ნიმუშის მიხედვით გაშრობამდე. ასეთი ზუსტი მიდგომა მანქანის შეკეთების პროცესში უზრუნველყოფს თითქმის უხილავ შეკეთებას, რომელიც გაძლებს ახლო დათვალიერებასა და დაბანას.
Პანელის სექციის შერევა
Მანქანის საღებავის დიდი ზომის შეკეთებები მოითხოვს სტრატეგიულ შერევას, რათა თავიდან ავიცილოთ ფერის გადასვლების აშკარა არსებობა სხეულის პანელებზე. როდესაც თქვენ მუშაობთ აეროზოლის ბანკებით, ივარჯიშეთ სპრეის ნიმუშები კარტონზე, რათა შეესაბამოთ ქარხნული გამოყენების გადახურვას და მანძილს. მიანიჭეთ მანქანის საღებავი მსუბუქ, თანაბარ ფენებში, შეინარჩუნეთ ბანკის მოძრაობა წვეთების თავიდან ასაცილებლად - რამდენიმე თხელი ფენის გამოყენება უფრო კარგ შედეგს იძლევა, ვიდრე ერთი მძიმე ფენის დამუშაობა. გამოიყენეთ შერევის ხსნარი შეკეთების ზონის კიდეებზე, რათა გაამხუროთ გადასვლა ახალი და არსებული მანქანის საღებავს შორის. გამჭვირვალე საღებავის ფენა უნდა გადაჭიმული იყოს მცირედ მაინც ფერის საღებავის ფენის გარეთ, რათა დაფარულიყო შერევის ზონის სრული მოცულობა. პროფესიონალური მანქანის საღებავის შერევის ტექნიკები ხშირად გულისხმობს შეკეთების გათანაბრებას სხეულის ხაზებში ან პანელის კიდეებში, სადაც ფერის განსხვავებები ნაკლებად შემჩნეულია. მიანიჭეთ საჭირო დრო ფენებს შორის მწარმოებლის მითითებული პროცენტით, რათა თავიდან ავიცილოთ ხსნარის გაჭედვა და პრემატურული მარცხი.
Ტემპერატურის და გარემოს კონტროლი
Იდეალური გამოყენების პირობები
Პროფესიონალური ხარისხის მანქანის საღებავის შეკეთება გარემოს პირობებზე ყურადღებით უნდა იყოს გაკეთებული გამოყენების დროს. უმჯობესი მანქანის საღებავის პროდუქტებისთვის არის 65-75°F (18-24°C) ტემპერატურა და საშუალო ტენიანობა 50-60%. ცივი ტემპერატურა შლის გაშრობას და შეიძლება გამოწვიოს ცუდი შეღწევა, ხოლო ზედმეტად მაღალი ტემპერატურა კი სწრაფად გაშრობას და ფორთოხლის ტექსტურას. შექმენით კონტროლირებული გარემო დახმარებით სახლის გამათბობლების ან კონდიციონერების გამოყენებით, რათა შეინარჩუნოთ მდგრადი ტემპერატურა. ტენიანობა ზემოთ 70%-ზე შეიძლება გამოწვიოს ტენის შთანთქმა ახალ მანქანის საღებავში, რაც იწვევს მის გაუხილავობას ან ბუშტებს. პირიქით, ძალიან მშრალი პირობები შეიძლება გამოწვიოს საღებავის სწრაფად გაშრობა, რაც ხელს უშლის მის სწორ გავრცელებას და გასწორებას. შეამოწმეთ ამინდის პროგნოზი და დაგეგმეთ მანქანის საღებავის შეკეთება იმ დღეებში, როდესაც ატმოსფერული პირობები მდგრადია.
Მტვრის და დამაბინძურებელი ნივთიერებების მართვა
Პროფესიონალურ სამუშაოზე საუკეთესო შედეგს იძლევა მუშაობის დაწყებამდე სამუშაო ზედაპირების ხარისხიანი გასუფთავება, მათ შორის იატაკის, კედლების და ნებისმიერი სხვა ზედაპირის გაწმენდა, სადაც შესაძლოა მტვერი იმყოფებოდეს. თუ მუშაობა მტვრიან ადგილში ხდება, გაითვალისწინეთ პლასტმასის დაკიდება დროებითი საშრობის მისაღებად. შეასრულეთ სამუშაო უხეში ტანსაცმელისა და თავის ბადის გამოყენებით, რათა თავიდან აიცილოთ ბოჭკოების მოხვედრა სამუშაო ზედაპირზე. მანქანის შესაფერად გამოიყენეთ უმოძრაო ჰაერის პირობები - გამორთეთ ბრძანკები და HVAC სისტემები გამოყენების დროს. დაუშვით გასველებული საღებავის გამოშრობა მტვრისგან დაცულ გარემოში, სანამ მანქანა გადაადგილდება ან ჰაერში მცირე ნაწილაკებს შეხვდება. პატარა დეფექტების შესაკეთებლად, შეიძლება გამოიყენოთ მობილური საღებავის დასაცავი ან უბრალოდ დიდი კორპუსი, რომელიც მოგცემთ საჭირო დაცვას მტვრისგან გამოშრობის პერიოდში. ასეთი გარემოს კონტროლი განსაზღვრავს სხვაობას ამატორული შეკეთებისა და პროფესიონალური შედეგების შორის.
Გამყარება და ბოლო დამუშავება
Საუკეთესო გამოშრობის პირობები
Პროფესიონალური ხარისხის მანქანის საღებავის შეკეთება მოითხოვს კონტროლირებული გამკვრივების გარემოს სწორი ფილმის წარმოქმნისა და მიწერისთვის. იდეალურ პირობებში შედის ტემპერატურა 65-75°F-ის შუალედში (40-60%) და საშუალო ტენიანობა და მინიმალური მტვრის შემცველობა ჰაერში. არ უნდა მოხდეს მანქანის საღებავის დატანა პირდაპირ მზის ნათენში, რადგან ეს იწვევს ძალიან სწრაფად გაშრობას და სახელწოდებას „ნარინჯის ტექსტურა“. დარბაზის სივრცეები უნდა იყოს განათიარი, მაგრამ დაცული ქარისგან, რომელიც შესაძლოა დააბრუნოს მტვერი საღებავში. პატარა ადგილების შესაკეთებლად, გაითვალისწინეთ მინი-სამუშაოს გაკეთება კორპუსის გამოყენებით, რათა შეიზღუდოთ მტვრის გავრცელება გამკვრივების დროს. უმეტესობა მანქანის საღებავის პროდუქტების იწყებს გაშრობას რამდენიმე საათში, მაგრამ სრული გამკვრივებისთვის სჭირდება 30-90 დღე და მაქსიმალური მაგარი იყოს. ამ პერიოდის განმავლობაში, არ უნდა მოხდეს დამუშაობა ძლიერი ქიმიკატებით ან გამოდება გარემოში სადაც არის ძალიან მაღალი ან დაბალი ტემპერატურა, რამაც შეიძლება გავლენა იქონიოს საბოლოო გამკვრივებაზე. გამკვრივების პროცესში მომხმარების მოლოდინი განასხვავებს სამაგისტრო სახის მანქანის საღებავის შეკეთებას პროფესიონალური ხარისხის, გრძელვადიანი შედეგებისგან.
Საბოლოო დამუშავება და დაცვა
Გამართული გამაგრების შემდეგ, ყურადღებით გაასწორეთ შეკეთების არე 3000-5000 აბრაზიული ქვიშის ქაღალდით, რომელიც საპნიანი წყლით ლუბრიკაციულია, რათა ამოიღოთ ნებისმიერი ტექსტური განსხვავებები. გამოიყენეთ ორმაგი მოქმედების პოლირების მანქანა თანმიმდევრულად უფრო ხარისხიანი პრეპარატებით, რათა აღადგინოთ ბზინვარი და შერწყმა შეკეთება უხილავად. პროფესიონალური მანქანის საღებავის დასრულება ხშირად გულისხმობს გლაზურის პროდუქტების დამაგრებას სიღრმის გასაუმჯობესებლად და მცირე ნაკლოვანებების დასაფარად ბოლო დაცვამდე. დახურეთ შეკეთება ხარისხიანი ავტომობილის მოცივნით ან სინთეტიკური საშენი მასით, რომელიც დამზადებულია თქვენი მანქანის საღებავის ტიპისთვის. კერამიკული საფარი უზრუნველყოფს უმაღლეს ხარისხის გრძელვადიან დაცვას პროფესიონალური დონის DIY მანქანის საღებავის შეკეთებისთვის, მაგრამ საჭიროებს ზუსტ დამუშავების ტექნიკას. რეგულარული მოვლა და მანქანის საპნით დაბალანსებული pH-ით ინახავს როგორც შეკეთებას, ასევე ორიგინალურ დასრულებას. თავიდან აიცილეთ ავტომატური მანქანის დაბინძურება აბრაზიული კერძებით მაინც 60 დღის განმავლობაში მანქანის საღებავის შეკეთების შემდეგ სრული გამაგრების საშუალების მისაღებად. ეს დასრულების პროცესი უზრუნველყოფს თქვენი DIY შეკეთების გამოჩენას და დაცვას, რომ შეინარჩუნოს მისი მოხატულობა და დაცვა იმავე დონეზე, როგორც მიმდებარე ქარხნული დასრულება.
Ხელიკრული
Რამდენიმე ხაზგასმული საღებავის შემდეგ რამდენ ხანს უნდა დავალო მანქანის საღებავის შესახებ?
Უმეტესი მანქანის საღებავის მწარმოებლები ირჩევენ 30-90 დღის დალოც მანქანის საღებავზე მანამ სანამ სრულიად აორთქლდება ხსნარი. ახალი მანქანის საღებავი ინიციალური გამაგრების დროს რჩება მცირედ მაგრამ მარცვლიანი და ადრეული დალუქვა შეიძლება დაამაგროს ხსნარი რაც შემდგომში გამოწვევს პრობლემებს. წყალზე დამზადებული დამცავი საშუალებები ჩვეულებრივ უფრო ადრე უსაფრთხოა ვიდრე ტრადიციული მარხილი.
Შემიძლია თუ არა მატიანური ან ატასის მსგავსი დასრულების მანქანის საღებავის შესახებ სახლში?
Მატიანური დასრულების მანქანის საღებავის შეკეთებას სპეციალური ტექნიკა სჭირდება რომ შეინარჩუნოს სწორი ტექსტურა. მოპყრობილია მატიანური შეკეთების კომპლექტები, მაგრამ შერევა ძალიან რთულია. ხშირად ირჩევენ პროფესიონალ დახმარებას მატიანური და ატასის მსგავსი დასრულებისთვის ვინაიდან სტანდარტული სამსხმელი შეიძლება გაანადგუროს ქარხნული ტექსტურა.
Რატომ ჩანს ჩემი შეკეთებული მანქანის საღებავი უფრო მუქი ვიდრე მიმდებარე ადგილი?
Ახალგახმობილი მანქანის საღებავი ხშირად უფრო მუქად ჩანს, სანამ ხსნილებელი სრულიად არ აორთქლდება და სახე სრულიად არ გამკვრივდება. ეს ეფექტი უფრო ხილულია ზოგიერთი ფერისთვის, განსაკუთრებით წითელი და ლურჯი ფერებისთვის. თუ ფერი 30 დღის შემდეგაც კი არ ემთხვევა, შესაძლოა დაგჭირდეთ თქვენი ნარევის გადაადასტურება ან დამატებითი შერევის ტექნიკის გამოყენება.
Როგორ შემიძლია მანქანის საღებავის გამშრალი ხაზების თავიდან აცილება გამოყენებებს შორის?
Მანქანის საღებავის გასასწორებელი ბოთლების შენახვა მოახდინეთ არსებული მდგომარეობიდან შებრუნებული პოზიციით, რათა ბოჭკოვან ბოთლში ჰაერის დახურვის სიმკვრივე უზრუნველყოთ. გახსნილი ტარის შემთხვევაში, დახურვამდე მის შიგნით შეაყვანეთ პლასტმასის გარსი. ზოგიერთი მოყვარული პატარა რაოდენობის გადასვამს თითის შესაღებად განკუთვნილ ბოთლებში, რომლებსაც შესაბამისი ჩამქუჩი აქვთ უკეთ შენახვის მიზნით. სწორად შენახული მანქანის საღებავის გამასწორებელი უმეტესობა 1-2 წელზე გამოსაყენებლად რჩება.
Table of Contents
- Გამომცხოვრებული მასტერობა დამახატველი მანქანის საღებავის აღდგენაში
- Სრულყოფილი ფერის შესაბამისობის სტრატეგიები
- Ზედაპირის მზადების ტექნიკები
- Სხვადასხვა ტიპის ზიანისთვის გამოყენების მეთოდები
- Ტემპერატურის და გარემოს კონტროლი
- Გამყარება და ბოლო დამუშავება
-
Ხელიკრული
- Რამდენიმე ხაზგასმული საღებავის შემდეგ რამდენ ხანს უნდა დავალო მანქანის საღებავის შესახებ?
- Შემიძლია თუ არა მატიანური ან ატასის მსგავსი დასრულების მანქანის საღებავის შესახებ სახლში?
- Რატომ ჩანს ჩემი შეკეთებული მანქანის საღებავი უფრო მუქი ვიდრე მიმდებარე ადგილი?
- Როგორ შემიძლია მანქანის საღებავის გამშრალი ხაზების თავიდან აცილება გამოყენებებს შორის?
